PPIM – Blog Entry 4 – Prototype

As stated before, I wanted my reactive piece to symbolise something recognisable, so I took the idea of a simple circle, which reacts in sync with some music, similar to how a stereo sub woofer would vibrate to strong beats.

Upon further research, I then learned how to create a sub woofer effect which react to the beat of music:

woofer

This was working progress, however, I did not stop there, after all, it’s too basic. So then using what we were taught in class, I merged my sub woofer with 2 other patches which I liked and thought would go well together – Thus creating my finished product.

PPIM – Blog Entry 3 – Tests

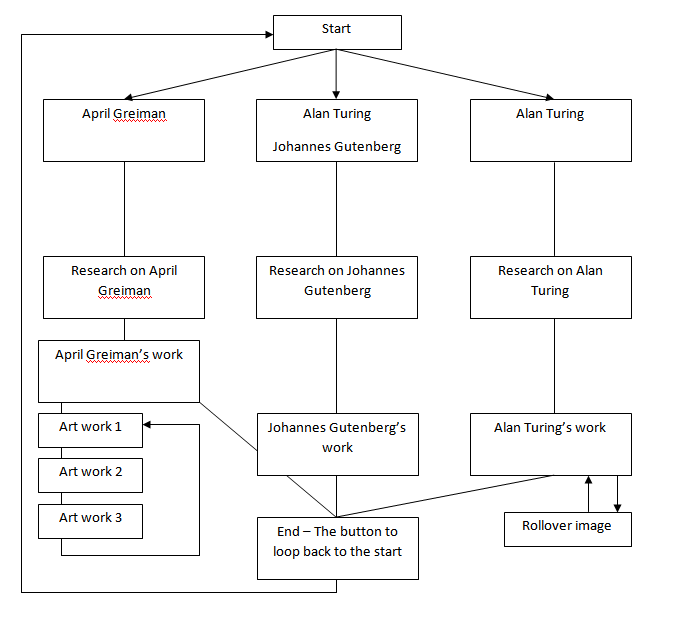
In class, we have made various patches as an exercise, these were to give us ideas for our final music reactive piece and to generally expand our knowledge on VVVV, enabling us to use a larger variety of nodes for experimentation and finalisation. These patches include:

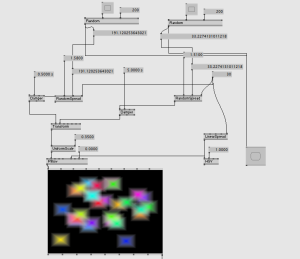
Random box patch, these boxes can move in both ‘X’ and ‘Y’ axis, and be placed on a random location by a push of the ‘Bang’ button. Also, by connecting a ‘Beatdetector’ node to the ‘Bang’ button, the boxes would move on their own, in sync with a song. This could have been a potential idea for my final piece. But it was not, therefore serving only as an exercise and something to practice with, alike many other examples which we’ve went through. However, these examples would have made great back up ideas if my initial idea did not go to plan for whatever reason.

test1

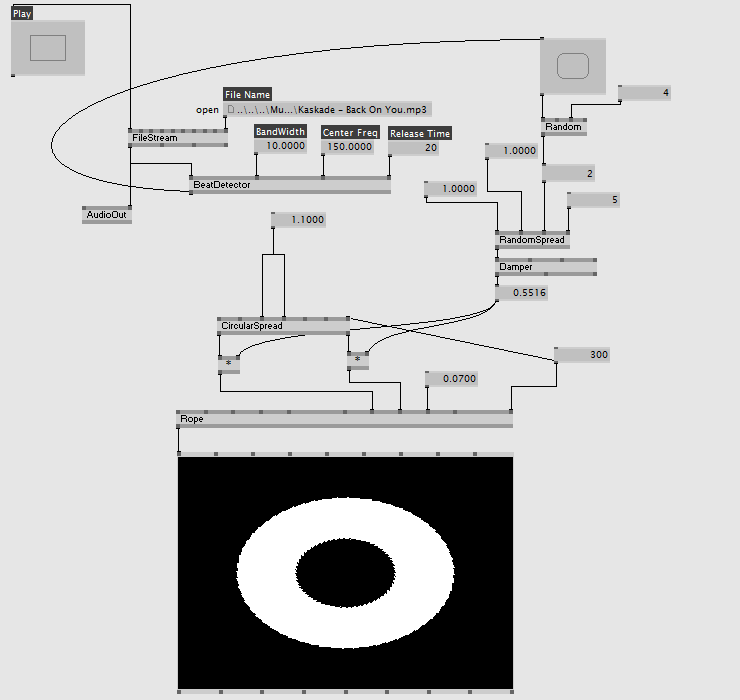
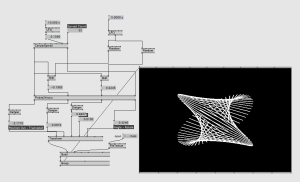
This was another great example. The shapes would move in conjunction to create a very fancy pattern. However, I did not expand this further and don’t plan on using this on my final piece.

test3

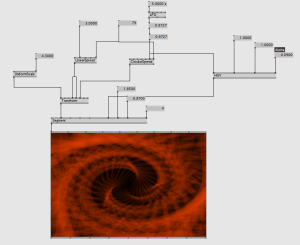
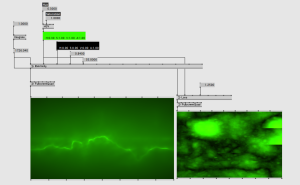
This example served more as a texture background. These backgrounds would have been great for a centralised music reactive shape. However, that was not the case for me, and so these textures will not be used for my final piece.

test4

This is a tunnel effect, shown to us in class. I liked the concept of this and decided to use it for my final piece. I liked the idea of how it looked as though you’re seeing a first person point of view, walking towards something unknown, whilst admiring the pattern on the walls or floor.

test5

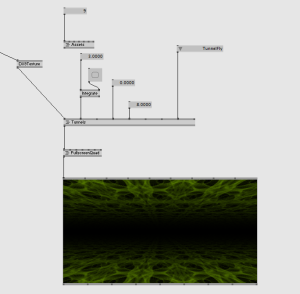
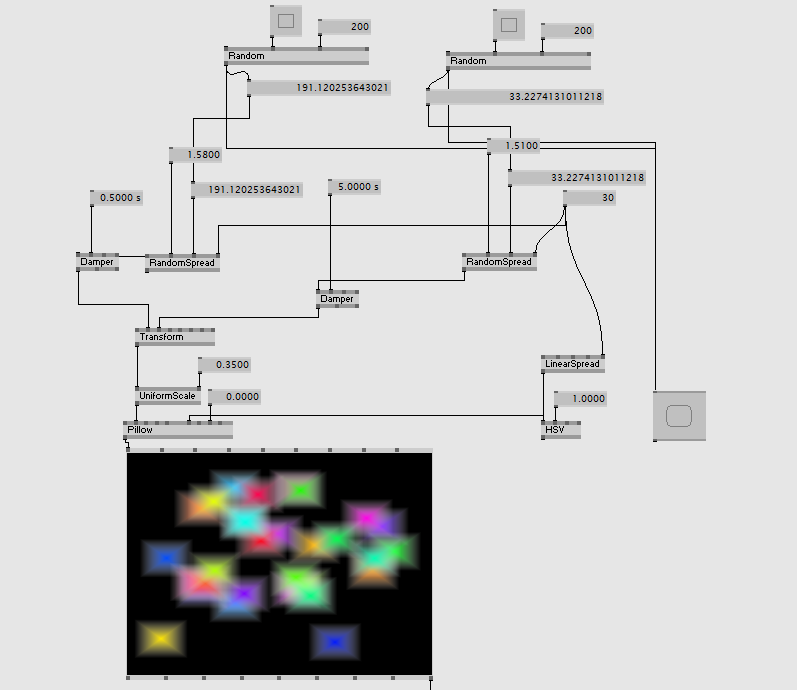
This is another effect used in class that I really liked. Its interesting and looks aesthetically pleasing. I used this as a DX9Texture. This made my reactive shape appear more colourful and also makes the shape appear more ‘alive’, if you will.

test2

2D Animation and Video Practises – Blog Four

This is a video on creating a simple walk animation. It shows how to create guides, so one may know the character’s boundaries. This can be helpful when trying to create a realistic walk cycle. However, if I was to put emphasis on the characters arm swing, I may want to violate these guide lines to maybe increase the arm length per swing, for example. This simply gives the character and it’s movement a much more ‘cartoony’ feel.

2D Animation and Video Practises – Blog Three

This is a side scrolling game which although looks simple, it has aesthetically pleasing backgrounds. This can add spice to a game, especially one of a walking simulator genre. In the game, as you approach certain areas, a story is told. This is something that if I would not follow in my game as what I’m after are simple animations. However, the moving background effect as the character is walking may be something I” have to look into…

PPIM – Blog Entry 2 – Inspirational Material

As the project is to be a reactive sound project, I am inspired to involve bass in the sounds I will be using along with my project. This is because in many music lyric videos, I have impressed with the creativity of how the lyrics and words are presented on screen. For example, the lyric videos for the songs ‘Drinking from the bottle’ and ‘The other side’ had an impressive sound reactive video.

Jason Derulo’s ‘The Other Side’ Lyric Video:

Furthermore, I would like my reactive piece to have follow conventions which are recognisable. This includes maybe a simple circle which expands and gets smaller in sync with my chosen sound piece.

For example:

2D Animation and Video Practises – Blog Two

As walk cycles are key to completing this assignment successfully, I would benefit from gathering ideas from numerous sources to see how other institutions and animators create walk cycles.

As seen from this walk cycle, it is a cartoon theme and the skipping is exaggerated to encourage emphasis on it’s fiction style. This can be useful if I am to create a cartoon themed character for my game. However, if I was to go for a more realistic approach, following the walk cycle of the ‘father’ character from the video would prove to work better, as it is clearly a more realistic walk cycle.

From this video, it gives me ideas for if I want to express the mood of my character through his/her walking cycle. This would come in handy maybe at different points in the game.

2D Animation and Video Practises – Blog One

For this project, we are to create a flash game whereby the protagonist is a character whom the player controls using the keyboard’s direction. The character is required to find ‘animation’. This can be done via the character walking towards an object or a person and triggering an animation in doing so.

Link to game: http://www.trevorvanmeter.com/flyguy/

In this 2D interactive side scroller, you play as a single character and are able to fly across a map and interact with different objects and people found within the map. As you approach one of these triggers, an animation will play. The game is completed as you reach the end. As seen in the video, you can see the different animations play out as the player moves in and/or ‘interacts’ with one of these triggers and objects.

This is a 3D game which is very similar to a walking simulator, however, it is very fast paced as you are playing as ‘the wind’ which carries a storm of flower petals. The feel of freedom here works effectively and gives the game a strong sense of free roaming. The game is also quite popular, this could be because the game creates a diversion for the audience, making them think or feel like they are flying, which would be impossible in real life.

PPIM – Blog entry one

For this assignment, we have been asked to produce a reactive music piece, whereby the sounds will have to react in sync with the moving graphics being portrayed. This project comes with 8 blog entries which will have to be completed on a weekly bases. This is to express our ideas and to effectively create a ‘how to’ assortment to show the methods we’ve used to achieve the end result. Also, for the project itself, we will be using the software ‘VVVV’. VVVV is a software designed to facilitate the handling of large media environments with physical interfaces, motion graphics and audio that can interact with users. We will also be working on Framed 2.0. This is a blank canvas which therefore encourages experimentation and for the creator to be creative with the motion graphics and audio for an imaginative end result.

On the event that took place on Friday, there were many interactive media in place for visitors to experiment with. These media objects included the following:

– An Xbox Kinect controlled projector, the images projected would move, and or take shape corresponding to the user. The user would be moving their arms and the images on screen would correspond to the movements made by the user. This made it possible for people to draw images on the projector screen just by moving their arms.

– There was another interesting piece. This is whereby the user would place their hands above a panel located beneath a screen which displayed various types of food. The food images would rotate as the user moved their hands from left to right, this give the impression of selecting what you wanted to eat or drink. The interaction from the user would determine which food image would be centralised on the screen, connotating that you’ve made your ‘selection’.

– Furthermore, there was a TV displaying a genie head. The genie would give a riddle upon activation. This would prompt the user to answer by picking up one of the many objects placed on a nearby table, one of which would be the answer and to place that object on the scale. Then genie would then determine whether you were right or wrong.

All in all, I felt these interactive media pieces worked and function all according to plan and how they were supposed to. Therefore, I feel that the projects worked well.

My Interactive Poster Evaluation

During the creation of my interactive poster, I ran into a few difficulties following my initial plan; which was to have my main picture scroll up and down, presenting the information on screen depending on the buttons clicked. However, I soon realised I didn’t know how to enable certain information to remain hidden or to appear, depending on the route taken by the viewer of my poster. This lead to me having to use functions that were not taught in the lectures and resulted in some individual research in hopes of finding a function which enabled me to accomplish what I had intended. Luckily, there was such a function which allowed me to see the plan through to the end.

The function which allowed me to do this and is the foundation of my poster is the string which determines whether a movie object is visible or not, depending on the buttons clicked;

examplebutton.addEventListener(MouseEvent.CLICK, eventname);
function eventname(e:MouseEvent):void {
mymovie.visible=true;
}
//or ‘false’ in place of ‘true’

After having found this out, the rest of the process was easier as I was able to progress. Also, my first draft was said to be too small, and I had forgotten to source an image I had used, resulting is me having to find another image from the internet as I couldn’t find the source of my previous image. This made it convenient for me to enlarge the main picture overall as I had to make one anew anyway. Overall, my interactive poster includes sound, flash animations, buttons, pictures and animated video clips, and so I am satisfied with my overall piece.